I saw this little guy “out for a walk” on Sunday. In fact on Sunday I saw three dogs in bags. There must have been something in the air. 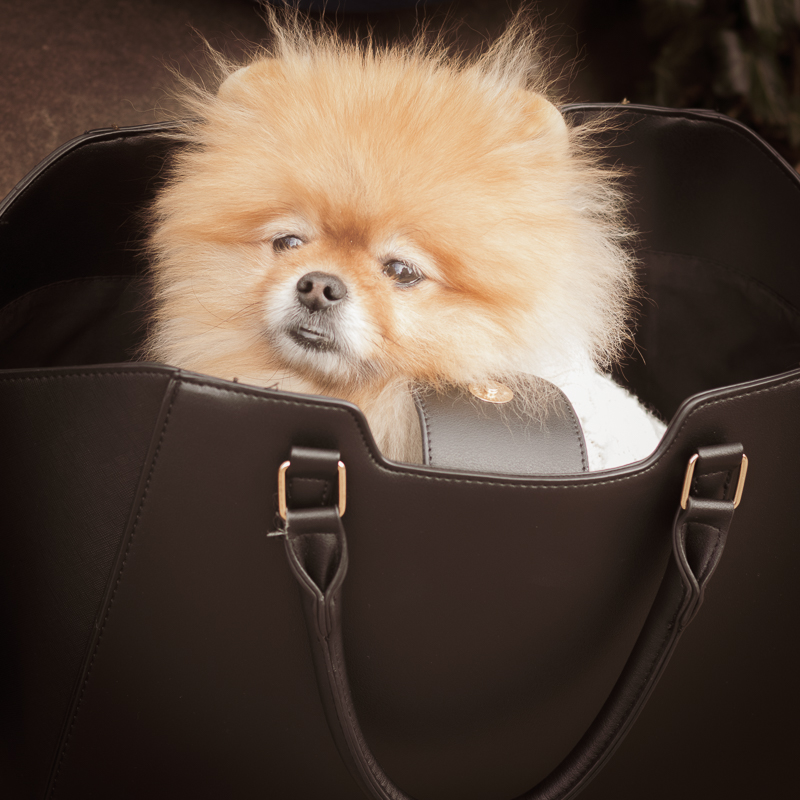 1/250, f/3.5, ISO400
portrait
Getting white balance close
Blogging, colour, portraitIt’s great when you learn something new. It’s also really satisfying to get something right in camera, and this little trick seems to work well for me.
Granted, it’s quite straightforward to correct white balance in Lightroom when shooting RAW. However either I don’t have a great memory for colour, or I don’t have a great eye for it. (Maybe that’s why I like black and white!). So that means I can take ages trying to get the colours right – and I often miss the colour cast entirely.
This trick is a variation on white/grey card, and is a close to zero cost hack on the Expodisc idea – especially if you have an Aeropress! All you need is an Aeropress Filter
Here’s the photo using Auto White Balance.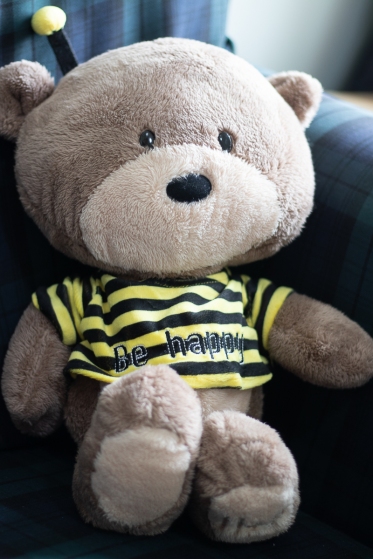
It’s Mr. Buzzington Buzz again. He’s sitting on a blue sofa, with a north facing window to his rear left. There’s a blue cast over him.
I placed the camera in front of Mr. Buzzington, facing back to where I was going to take the photo from. With the coffee filter covering the lens I took a properly exposed shot. (i.e. the histogram was dead centre). Here it is.

Not the most interesting photo! However I then used this to create a custom white balance. I use a Canon 80D, and that takes about 4 key presses.
Reshooting Mr. Buzzington Buzz (same shutter speed and aperture) gave the following result.
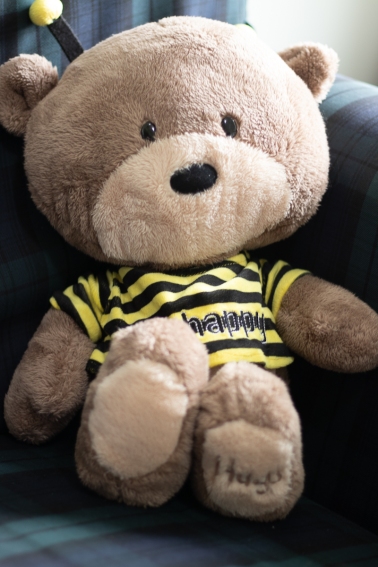
This is a much more accurate representation of the colours – and no fiddling about in Lightroom!
Mr. Buzzington Buzz’s adventure
Blogging, colour, portraitMr. Buzzington Buzz enjoys nothing more than an adventure by the seaside. It’s nice sometimes to just sit and catch your breath. Taking in the salty air, and noticing the gentle wind on your face.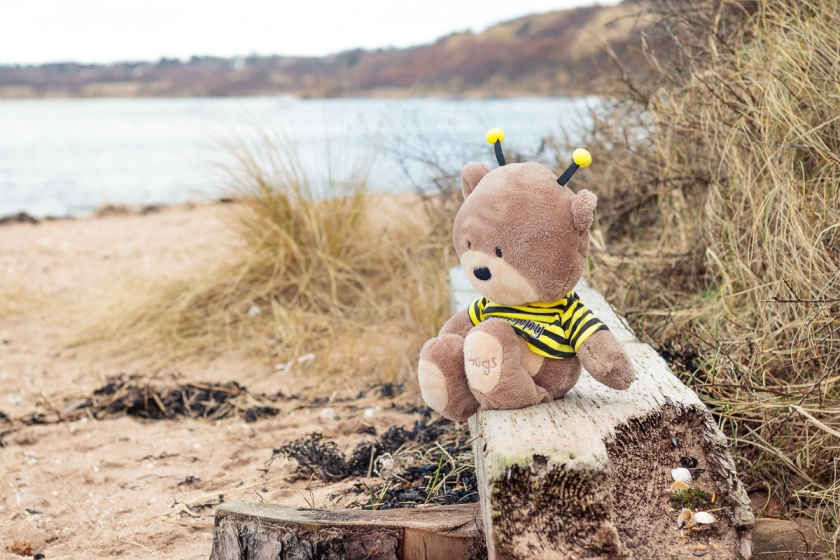 1/640, f/3.5, ISO200
Through the window
colour, portrait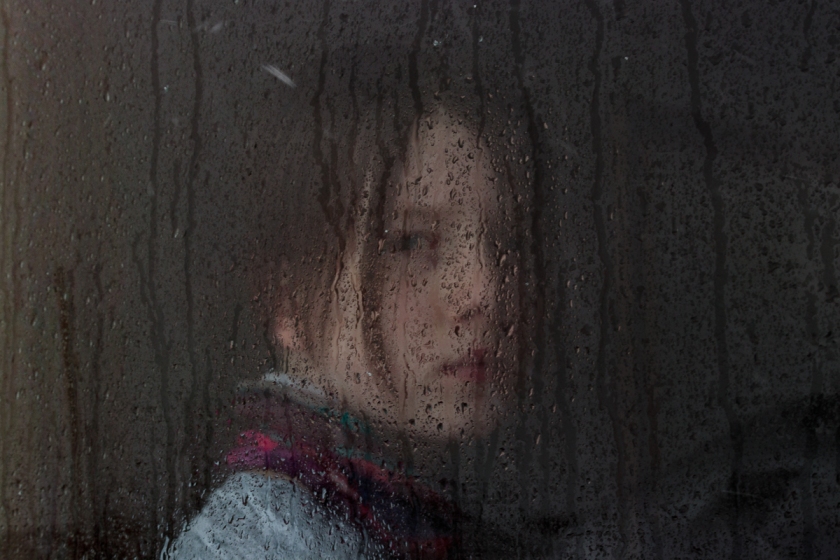 1/80, f/16, ISO200
It’s amazing that a photograph captures a split second glance, and then establishes that as the eternal mood of the moment.
Penguin on a mission
Blogging, colour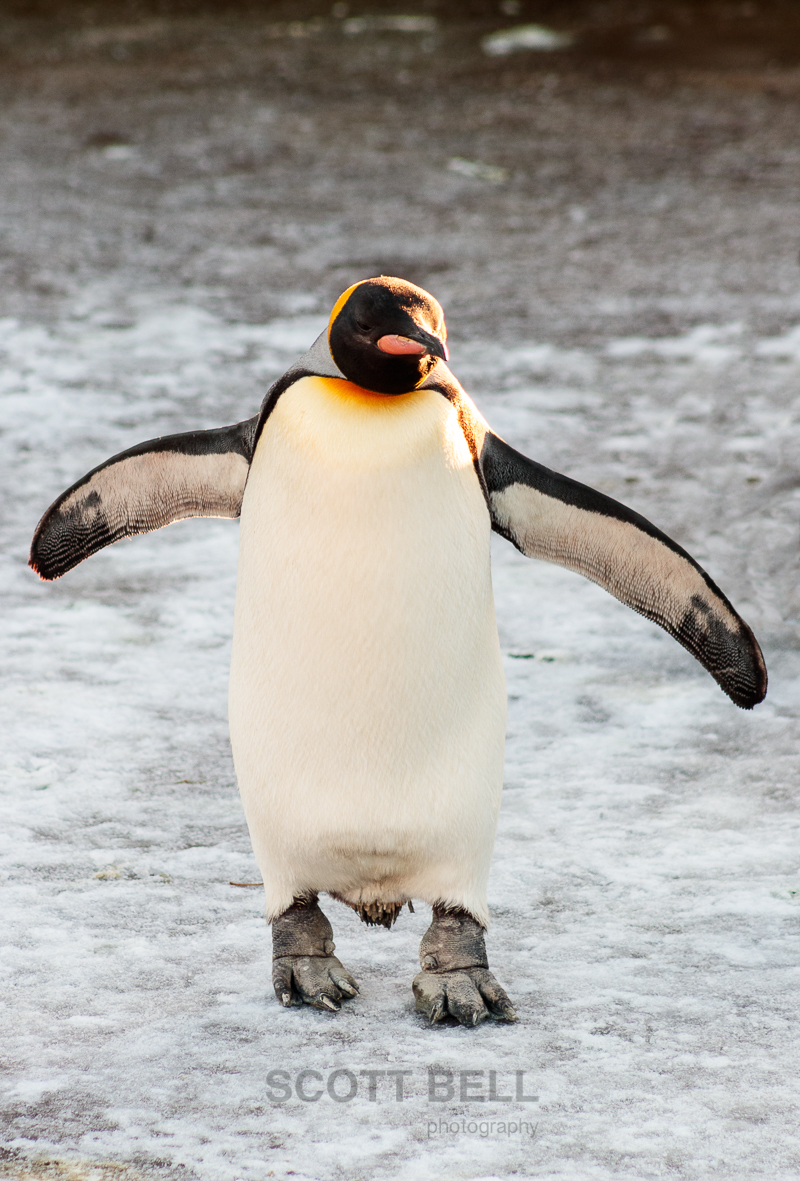
Here’s the second penguin shot. This Emperor was going for a swim and nothing was going to stop him/her.
1/250, f5.6, ISO400

Last day of the fair
Blogging, colour, portraitIf it was there all the time, it wouldn’t be special!
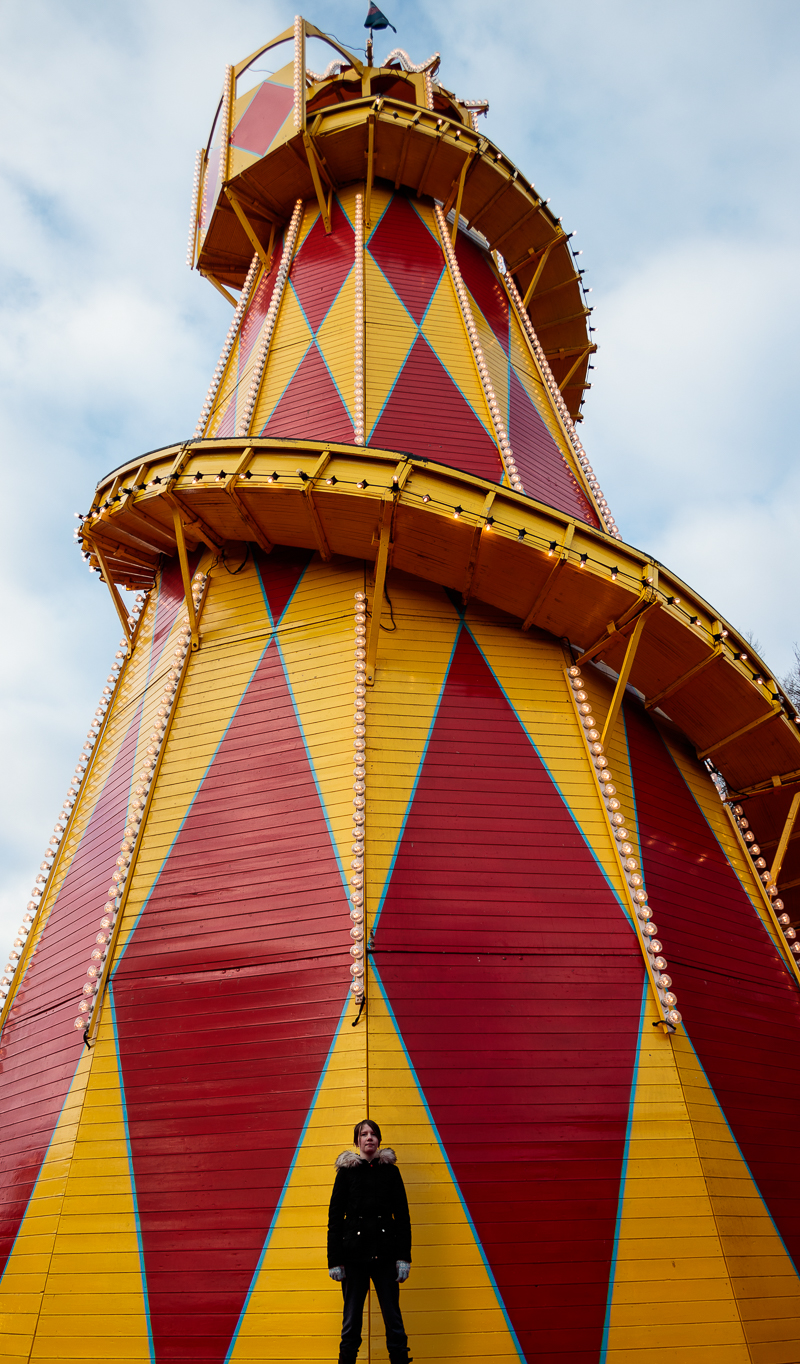 1/125, f4.5, ISO100
